Update December 31st. I'm joining up with Layla at The Lettered Cottage again today for her A Few of My Favorites from 2010: Tutorials Edition. This was my very favorite project of 2010, and according to my stats, it was yours as well, so I'm featuring it again. Hope you enjoy it.
__________________________________________________________________________
How about some cherries? or peaches, or blueberries, or bananas......
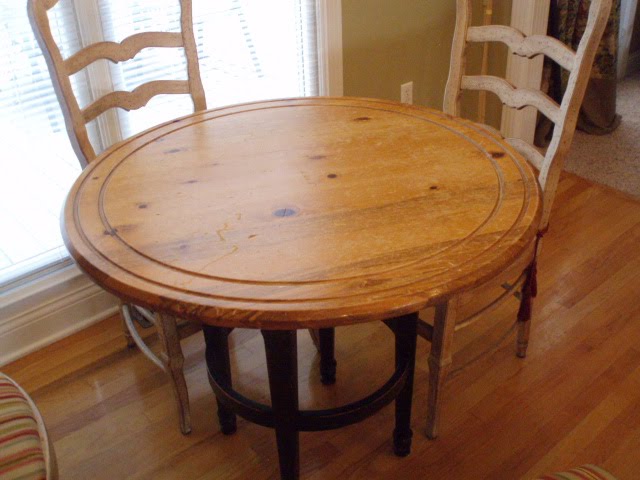
Whatever your pleasure, you can go from this:
to this:
....in just a few easy steps.
You can do this too! Seriously, it was so easy.
the hardest part was waiting for the layers to dry between steps.
A few weeks back I purchased a tablerunner (from Big Lots, believe it or not), that I liked a lot. I really loved the strong colors, and the subject matter. I originally purchased it for my rectangle table I had in the kitchen, but (if you read my blog) you already know that I decided to turn my round coffee table into my kitchen table. When I did that, the runner just wouldn't work for the new table.
I thought maybe I'd cut the runner up and make pillows out of it for the chairs, but then ixnayed that idea.
I then I remembered this:
When I looked back over her pictures, I thought 'Hey, I can just paint that runner on the table", and so I did.
Here's How I Did It:
First, decide on your inspiration.
Here's the runner I got mine from.
Take your table outside and sand your base down really good.
I used a palm sander with a 180 grit paper for the initial sanding. Once I was rid of all the sheen, I used a 220 grit paper to smooth
it down.
------------------------------------------------------------
Next, Gather a few supplies:
Inspiration Piece
Palm Sander or Sanding Block
Paints
A few small paint brushes:
Bristled Brushes for the colored stripes
Foam Brushes for the stencils
Painter's Tape
Pencil
Letter Stencils, Stamps, or Chipboard Pieces
Glaze
Clear Polyurethane
Misc drawing props
I used an enlarged clipart picture of cherries I found on the net,
and a small plastic cup to draw the circles for the cherries.
----------------------------------------------------------
Mark off your stripes and begin painting:
TIP: Don't worry about getting the paint too thick or perfect. You'll be sanding it all down again when it's done, and the thinner the paint is in this step, the easier it will be for you then.
TIP: I pull the tape off as soon as I paint all my coats. I find you get a cleaner line if you remove it when the paint is wet.
Let your first stripes dry completely. When they're dry, place the tape for your center stripe on the table.
Next, paint your center color.
Now, I've got the base colors done, and it's starting to take on the look of my runner.
Gather your lettering and stencil supplies.
I somehow forgot to take a picture of the next step, but it's easy-peasy unexplainable.
I used a small checkerboard stencil to paint the little row of blocks along the line at the top.
Then I taped off a small straight line that I painted white.
(Look at the runner, you'll see what I mean)
(Note: I took this picture when I thought I'd be using the large stamps. In the process, I decided I didn't like the type style, so I used some chipboard letters I had for faux stamps for a few of the words.)
Find the centerpoint of your table and mark it.
I used a thumb tack to mark mine so that I could see it easily.
I used this as a guideline throughout the entire process.
Begin applying your words.
To get the arc template for the "Delicious", I used a turkey platter.
(See the row of checks and the white line? that's what I was referring to above.)
Next, I ran a piece of tape to the right of my imaginary center line so that I could play around with my wording to get the proper placement.
I forgot to take a picture when I first started, so you can see that I've already applied the "Cherries".
This is where I ended up using the chipboard letters I had on hand to act as stamps. The only problem with this is that you'll have to fill them in free hand.
When I laid out the letters, I put an ink mark on the tape at the beginning and end of each letter so that I could see exactly where to stamp them.
I painted the backs of the letters and then laid them down on the table. If you have to do it this way, press the letter down so the paint will transfer better.
This is where those of you with Cricuts and Silhouettes would be breezing through this.
And by the way, if you do have one of those, just make a stencil with your words.
You can also use freezer paper to make the stencils.
(If I hadn't been doing this in the late night hours, I would've ran out and bought the right stamps.
Walk away and let the layer of letters dry completely.
When the letters are dry, it's time to start drawing in your fruit picture.
There are a few ways you could do this. I chose to wing it and draw it out semi-freehand. I say 'semi' because I used a cup to draw the guide for my cherries.
Other alternatives: You could make another stencil on your specialty cutter, or, you could print the picture out and then put carbon paper under it and trace the lines of the image. The carbon paper will leave the outline of the image on the table. Just be sure to trace lightly.
Grab your paints and start to fill in the image.
Again, you do not have to be too perfect with this. Remember, you'll be sanding this down, and the glaze you're going to use will cover a multitude of sins.
The clipart picture you see is what I used as a gide for my cherries.
Finally, all of the painting is complete.
Now walk away and let the table dry for about 2 hours.
_________________________________________________________________________
_________________________________________________________________________
NOTE: If you like the look of the table at this point, you can stop and coat it with the poly here and be done with it.
Hubby and I struggled here because he wanted me to leave it as is, but I wanted it to appear aged.
He gave in to me in the end.
Look pretty good, huh? I was in love with at this point already.
________________________________________________________________________
________________________________________________________________________
If you want to proceed with the glaze, then let's move on.
Before you glaze it, be sure to sand it down again. After you sand it, wipe it down with a damp cloth, or tack cloth if you have it on hand.
TIP: If it's really hot outside, you may want to find a place in the house or garage to do the glazing. I did mine outside in 98 degree weather, and it dried on me before I could rub it in, which caused me to have to scrub the glaze off with HOT water. I then moved it into the shade and started over.
Put enough glaze in a bowl to do the table.
Water it down. I used 1 part glaze to 6 parts water. You can see here how much that was.
Start brushing the glaze on.
Work in small sections at a time.
Simply brush it on, and then wipe it off with a towel.
Be careful to leave the glaze color in the areas where it looks most natural.
Finish that process. You're almost done.
Let the table dry for about another 2 hours.
When it's dry, you can start adding your clear coat.
I did 5 coats of the poly. Wait about 20 minutes between each layer.
NOW you're done!
WooHoo!!
It's time to put it in place and start using it!
I went from this:
To this:
And I couldn't be happier!


.jpg)

.jpg)